Summary: WP Toolkit is a single management interface you can use to create, configure, and manage WordPress websites in Plesk.
In this topic, you will learn how to install WordPress on websites in Plesk and how to register existing WordPress websites in WP Toolkit. You will also learn how to automatically pre-install WordPress on newly created websites, how to create and manage sets of WordPress plugins and themes, how to install plugins and themes on or remove them from WordPress websites, how to back up and restore WordPress websites, and also how to configure a variety of WordPress settings, such as the default database table prefix.
Prerequisites
Before you can start using WP Toolkit, the WP Toolkit extension must be installed on the Plesk server:
- If you are the Plesk administrator, install the extension from the Extensions Catalog.
- Otherwise, contact your hosting provider and ask them to install the extension for you.
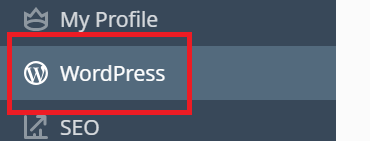
Once the extension is installed, you are ready to begin. You will see the WordPress option in the Navigation Pane.

The “WordPress” option will also appear in domains’ Create Website drawers.
Note: The WP Toolkit extension is free with the Web Pro and the Web Host Plesk editions and is available for a fee for the Web Admin edition.
Installing WordPress
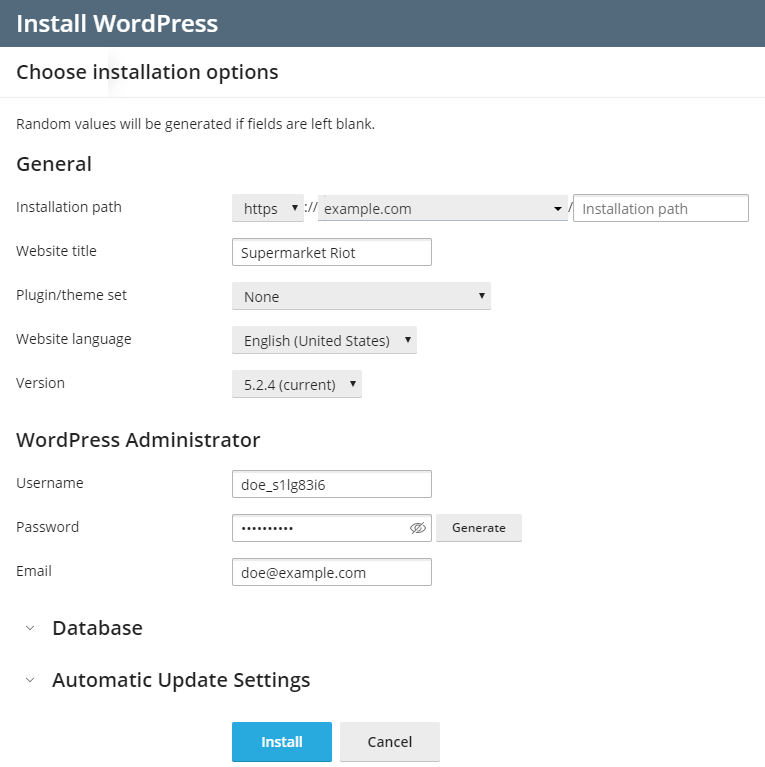
To install a new WordPress installation, go to WordPress and click Install.

Here you can:
-
Install the latest version of WordPress with the default settings by clicking Install.
-
Change the default settings (including the desired WordPress version, the database name, the autoupdate settings, and more) and then click Install.

Note: To install WordPress, WP Toolkit retrieves data from wordpress.org. By default, if WP Toolkit cannot establish connection in 15 seconds, wordpress.org is considered to be unavailable. If you experience connectivity issues (for example, due to the poor quality of the Internet connection), consider increasing the timeout value. To do so, go to WordPress, click “Settings”, specify the desired value in the “HTTP timeout for retrieving data from wordpress.org (sec)” field, and then click OK.
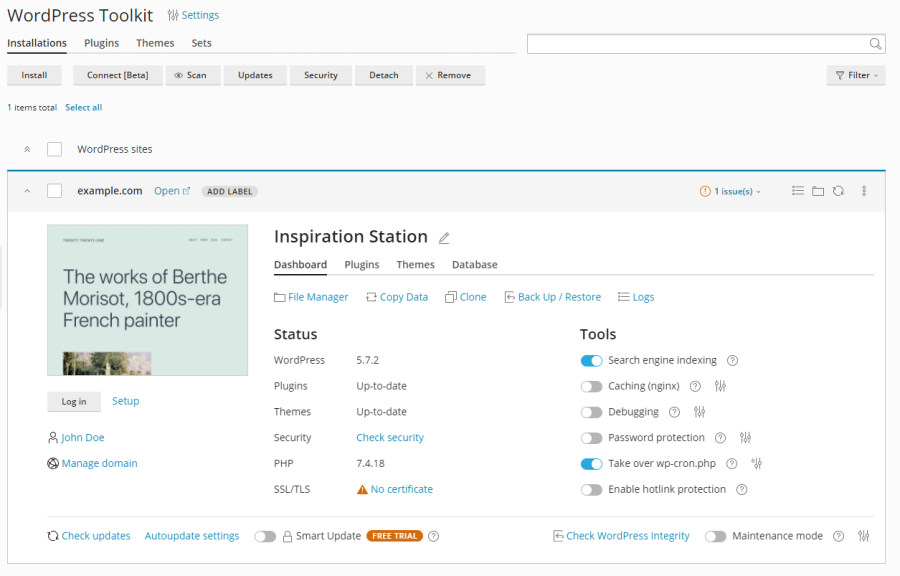
WordPress is now installed. You can find the new installation in the list of existing WordPress installations in WordPress.

Adding Existing WordPress Installations to WP Toolkit
All WordPress installations added using WP Toolkit appear in WP Toolkit automatically. Those installed manually need to be attached to WP Toolkit. If you have upgraded from an earlier version of Plesk and you used WordPress, we recommend that you attach all existing WordPress installations to WP Toolkit.
To attach WordPress installations to WP Toolkit:
- Go to WordPress.
- Click Scan.
The WordPress installation is now attached. You can find it in the list of existing WordPress installations in WordPress.
Importing WordPress Installations
You can use the “Web Site Migration” feature to migrate WordPress websites owned by you but hosted elsewhere to Plesk. When you migrate a WordPress website, Plesk copies all its files and the database to your server. Once a website has been migrated, you can manage it using WP Toolkit.
Learn how to migrate an existing WordPress website.
Selecting One Language for All WordPress Installations on the Server
When WordPress is installed via WP Toolkit, WP Toolkit selects the default WordPress language that matches the Plesk interface language of the user for whom WordPress is installed. For example, if you have a user whose Plesk interface language is Italian and you install WordPress for this user, Italian will be selected as the default WordPress language.
However, you may want to have one language for all WordPress installations on the server regardless of Plesk interface languages selected by users. To do so, go to WordPress > Settings, select the default WordPress installation language, and then click Save. The selected language will be the default one for all new WordPress installations on the server. Users remain free to choose a different language when they install WordPress if they want.
To return to the default way of selecting the WordPress language, go to WordPress > Settings, select “Same as user language” next to “Default WordPress installation language”, and then click Save.
Specifying One Database Table Prefix for All WordPress Installations on the Server
WP Toolkit generates random prefixes of the database tables for each new WordPress installation on your Plesk server. You may want to change this behavior and specify one default prefix that all new WordPress installations will use.
To specify the default prefix of the database tables:
-
Go to WordPress > Settings.
-
Next to “Default database table name prefix”, specify the desired prefix and then click Save.
Note: If you want to specify the
wp_prefix, change it a bit (for example,wporwp__). Thewp_prefix is considered insecure and conflicts with WP Toolkit security measures. If you specify this prefix, new WordPress installations will receive the “Danger” security status. Any form different from the exactwp_does not trigger the security warning.
To return to random prefixes, clear the “Default database table name prefix” field and then click Save.

